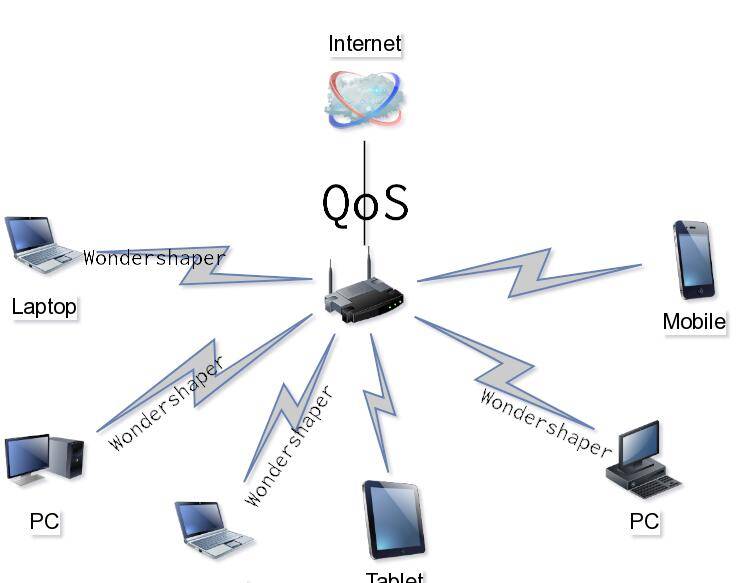
I’ve written about wondershaper before (though ignore the tweaks I mention there – wondershaper is updated and is available at GitHub) ; it’s a handy little tool that will keep any one application from hogging all the available bandwidth from your computer. While it doesn’t create miracles on its own, combining it with Quality of Service (QoS) rules on your router can make everything run a bit more smoothly.
To use a metaphor, QoS on your router is like a traffic cop between a highway onramp (the internet) and the surface streets (your LAN), waving high-priority traffic through more quickly than low-priority traffic. Wondershaper is a different traffic cop doing the same job, but only handling traffic in a neighborhood (your computer) going onto the main surface streets (your LAN). Having one helps, having both can help make things run a lot more smoothly.
Setting up QoS rules is a little tricksy (and beyond the scope of this post), but is worth it. Wondershaper is a lot simpler, since it’s cleverly written and is just handling traffic from a single computer. But what if your computer is a laptop (like mine) and different places you work from have different bandwidth amounts? That’s where my automatic_wondershaper_wombat script comes in.
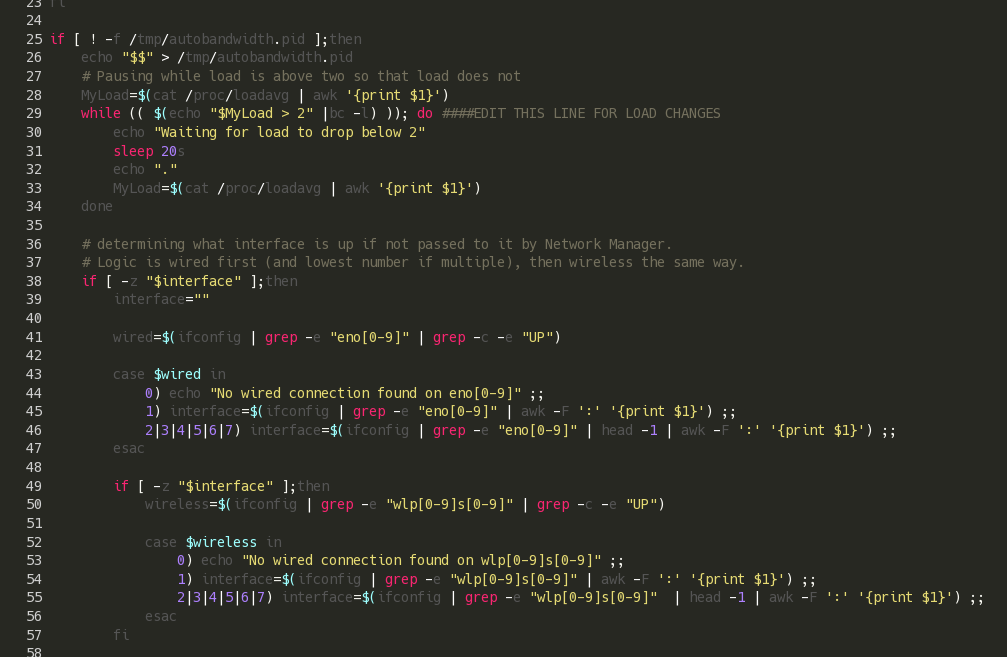
The "normal" installation results in the script being called every time you connect or disconnect from a network. When you connect, it waits until your computer isn’t under high load, then uses speedtest-cli to determine the available bandwidth to that computer from the router. It then automatically determines and sets the bandwidth limits, all behind the scenes. When you disconnect from the network, it clears all the settings it put in place. Optionally, you can run it manually to have it re-examine and re-apply its limits.
It logs to syslog as well as creating a simple text file at /tmp/bandwidthqueues listing the interface used, the downspeed limit, and the upspeed limit.
You can check it out on GitHub, GitLab, or my private git repository, which includes detailed step-by-step installation instructions, tested on Debian Buster.